Making a Creative Space in a Small Space
Trying out various, repeatable camera angles in a small office.
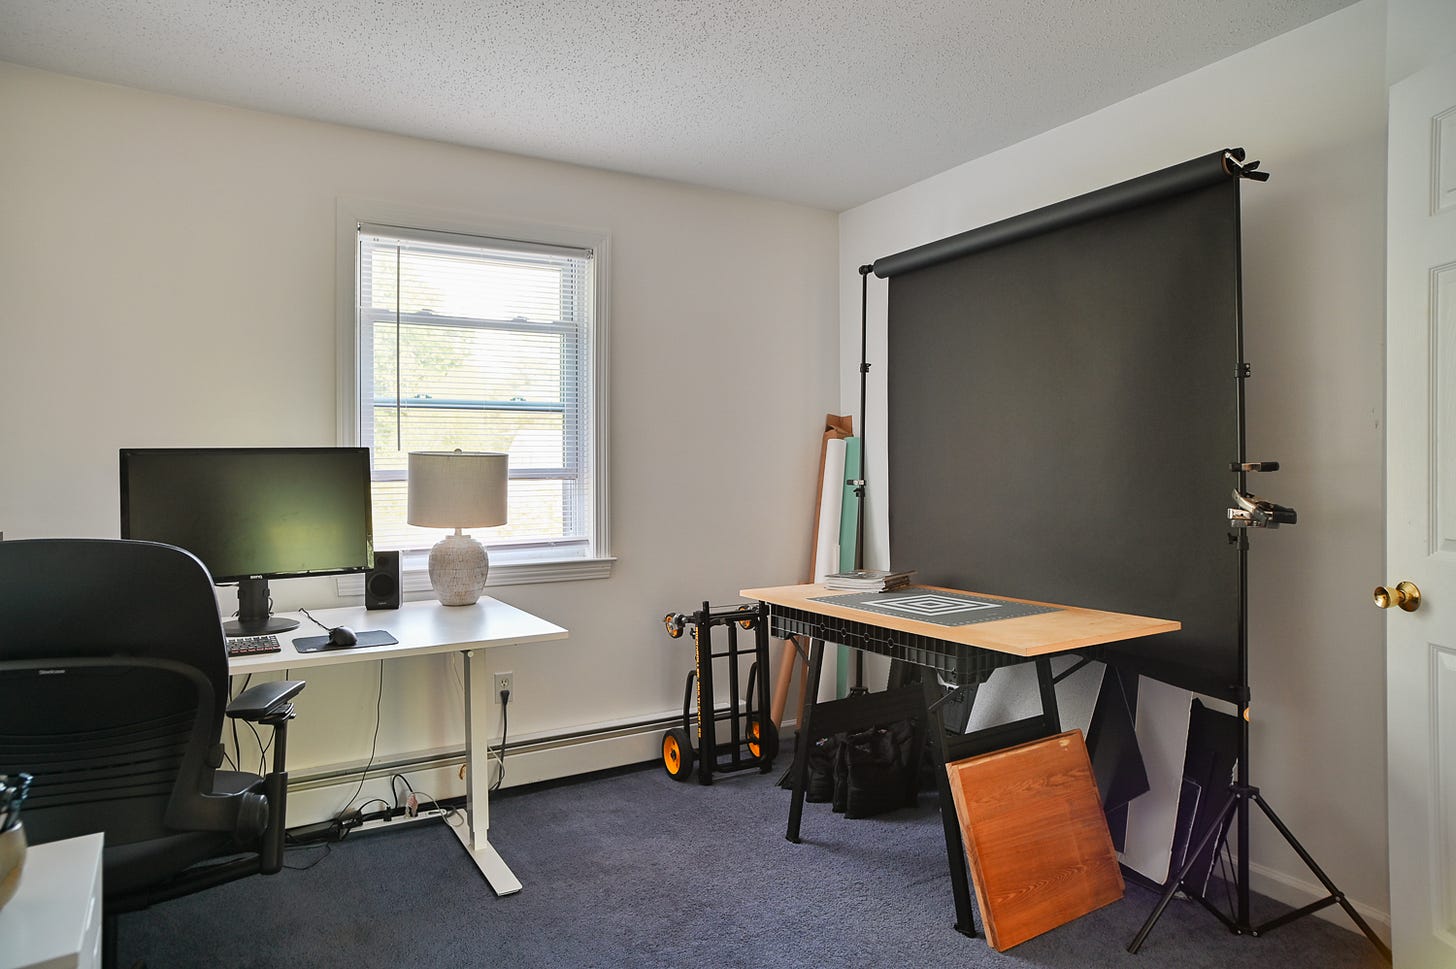
It was a large sunlit room. On one wall, I had my standing desk, a workbench, and a printer. On the other, I had a permanent paper backdrop with strobe lights, continuous lights, and a sheet of plywood laid on a portable sawhorse. The paper backdrop unrolled over this plywood, giving me a miniature cyclorama of sorts for product photography and, in general, tinkering with my video equipment. Afternoon light would spill into the room during a slow day and I’d find myself stepping away from an edit to do something fun with the cyc. It was a space that enabled a lot of my creativity.
(Way too much cream.)
This was a few years ago now. I have since moved across the country to a small townhouse in the city. I don’t have the space for this setup anymore.
And that thought has gotten my thinking.
This year, I’ve wanted to get back to tinkering. I enjoy doing that, you know, finding a weird old lens and putting it on a camera and getting some test footage or setting up fake product photos just for the activity of lighting, capturing, and editing them. This whole Feed the Sensor blog came about when I had that space.
There’s something to be said about the consistency of a creative space. It’s having markers on the floor for the tripod, a height noted down for C stands, the same lights, the same camera settings, a familiar shot that you can go to without much thought or time. Having that all ready to go means less friction when creativity strikes you.
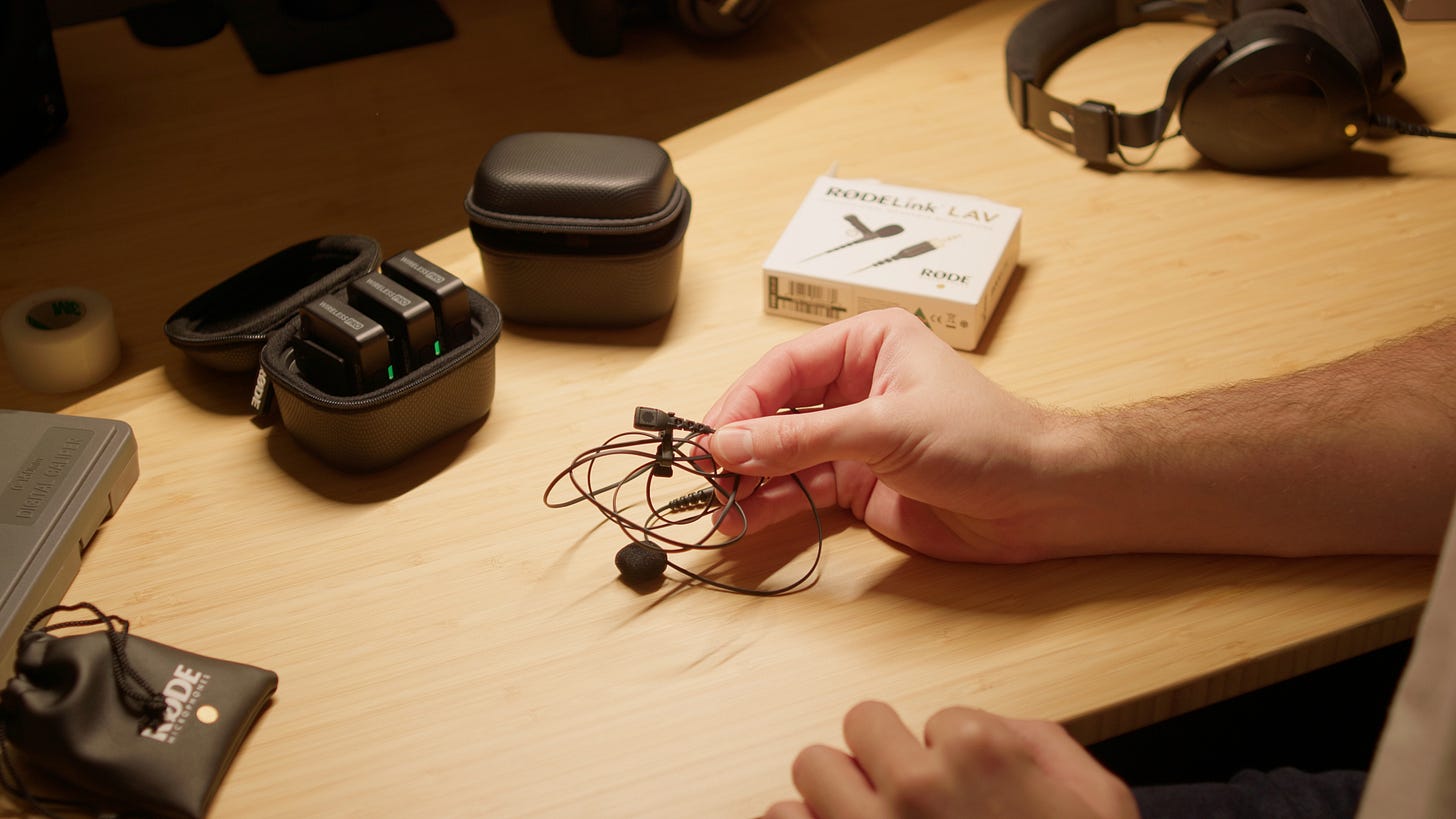
Currently I don’t have that. When I made a video about Rode’s headphones and microphone, it took me 4 hours to build the set in the kitchen. And I ended up re-shooting that video twice (for a total of three setup times and 12 hours). That’s not something that I want to do again.
So, I have been exploring some fast setups. Hardware Canucks’ tiny studio space, as shown in Gerald Undone’s studio tour, is good inspiration.
These setups take less than twenty minutes to put together. They are all in my office room next to my desk. They do not take much effort or thought. I am also using as much preexisting room lighting as possible.
Evening OTS Shot
This is a 45-degree angle, over-the-shoulder shot. The key light is a Forza 60B positioned overhead. This light is permanently in place as a key light for video calls with clients, so it’s easy enough to swivel around. I also have a kicker light from a BenQ ScreenBar. (As a side note, monitor light bars look cozy in home office photos, but they’re just… fine. Mine is useful for throwing a bi-color light onto the wall behind the monitors when color grading. But mine is not too functional as a desk lamp, at least for me, because it’s placement on the monitor directs the shadow of your hand onto whatever you’re doing. They do give off a nice vibe, though). The fill light is the warm bounce off the bamboo desk. I find this look pleasing. I think I’d add some rain sounds in the background if I choose to use this setup.
Evening Overhead Shot
This shot is lit the same as the previous one, but I have mounted the camera to an overhead rig. To make this shot happen, I have to place two C-stands, mount the overhead rig, mount the camera, align the camera so that it is plumb downward and parallel with the wood grain (easier said than done!), and connect the camera to a monitor at desk height. This setup takes time and I could not keep it built because I need those C-stands.
Simple Front Shot
This shot takes way less time and is more aligned with videos typically on YouTube than the previous two shots. It uses the same key light as in the evening shot, though shuffled to the side. The fill light comes from the bounce of the white desk. And there is a kicker here that next time I’d change up to a blue light. I like how Crimson Engine does the blue light in his backgrounds, so I might try that. I think why my mind is wandering to his videos is that he makes effective use of contrast. His shots have this three dimensional pop.
Clean Closeups
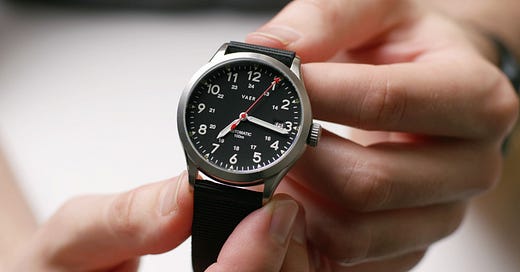
These two shots use the same lighting as the simple front shot but the camera has been moved in and angled downward. I really like how sharp the Zeiss Contax 50mm F/1.8 is at F/2.8. I did not make any sharpness adjustments in post. This is straight from the camera.
I keep thinking I need to buy new lenses. I have watched probably all of the videos about the NiSi prime lenses. Having used the Contax lens set for 7 years, switching to those would be a big shift.
I’m going to keep experimenting with the lighting in these shots to make the subject of the shot have more of a three-dimensional pop. I can see an edge light looking nice on the crown side of the watch. The question I have for the next post is how can I maximize the saturation and contrast with lighting in camera? I’m going to take some inspiration from Hardware Canucks for that.
What are you doing to support your creativity? How important is a space in what you do?


