I had written last week about my need for a creative space. Since moving to the city, I hadn’t had this kind of space to tinker with my equipment (my townhouse is tiny). The large room that I had back in Connecticut was key to keeping the motivation going when I wanted to, I don’t know, pour a lot of coffee into a thermos in slow motion because I had lots of paper backdrops, props, lighting, and stands a few feet from my desk. I think a lot of the reasons why I created this blog and the YouTube channel came out of the regularity of creation in that room, which as said came from the convenience of being able to create.
My office in this house is 80 square feet and most of that is taken up by shelving and desks. If you include only the open floor space to position lights and a table, then my usable space is really 35 square feet. What can you do in just 35 square feet?
In the last article, I put together a test. I bought one of those pneumatic lift laptop task tables you often see at doctor’s offices or yoga studios. I placed a light with a large softbox, the camera, and some props. The emphasis on this setup was minimal time. I did not want it to take three hours like it had previously to build a lighting setup. I wanted it to take 20 minutes and have as little friction as possible to not dampen the motivation. The result was alright. Not great, not bad either. The image lacked contrast. The table was too small.
I set a goal for myself for the following week to improve on this test. I wanted more contrast, more three-dimensionality to the image. And I wanted an edge light.
I’m writing this up because I think there a lot of other people out there with tiny, tiny spaces feeling like they’re unable to do anything in them. I’m dealing with the same thing! And this is what I’ve come up with.
Neutral Shot
In the first test, I didn’t like the rounded corners on the laptop task table. At the focal length that I wanted, those rounded corners would be starting to bevel off on the edges of the frame, and I didn’t like that look. This meant that I could not get the wider shot that I wanted, limiting my range.
The first thing I did in this followup is head out to IKEA to get a new table. I wanted a solid neutral white surface to avoid changing the color on the products that I’d be showing and to bounce soft light onto those products. The smallest white table top that IKEA has is the LINNMON top, measuring 39 3/8” x 23 5/8”. I picked up four black ADILS legs to go with it. The grand total? $50.
Next up was key and fill lighting. My office has white walls, so I positioned the new table top close to the wall on the right side of the frame so that light from the key source, a Forza 60B in a 24” x 36” softbox, would bounce off the wall and reenter the right side of the frame as fill. The Forza key light is at 30% and placed to the left side of the frame, facing downward at an angle. Any 60 watt equivalent point source light like the Forza 60B would work here.
For the edge light, I used the light bar on my monitor. I thought about mixing colors, setting the key to tungsten and the edge light to daylight, but I didn’t like the look. It wasn’t blue enough. Instead, I matched everything to daylight. I also didn’t move the light bar. I just tilted the monitor back so that the light bar was casting its light toward the IKEA table top.
Finally, I sourced a looping colorful screensaver on Artlist. You can see it in the upper right hand of the frame in the wider shots. (Artlist has royalty free music, stock footage, and templates. They have a very open commercial use license, which is why I use them. Its library is small compared to other platforms, but what they have on there is good quality. Sound effects are lacking, however, and their search capabilities need a lot of improvement. So you know, the above link is a referral link.).
The end result?
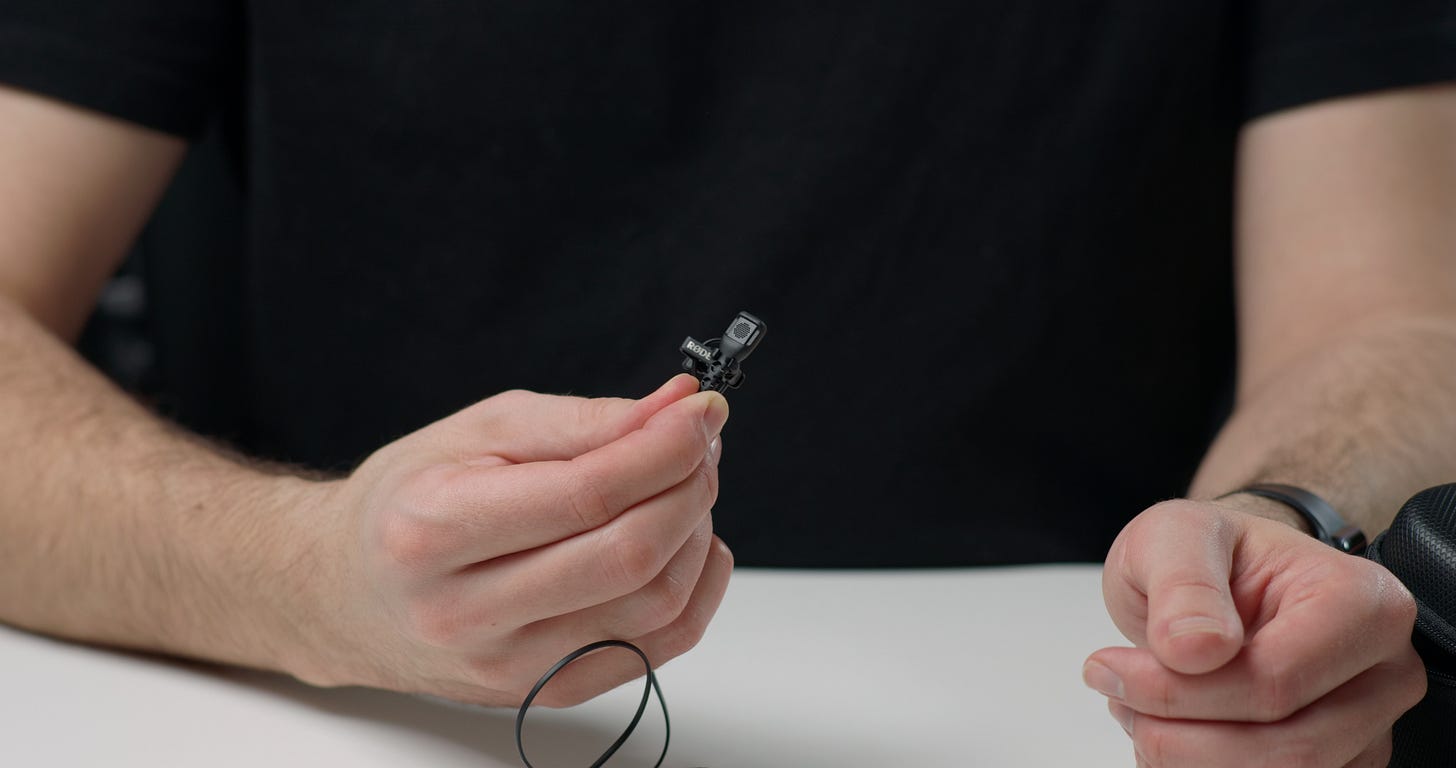
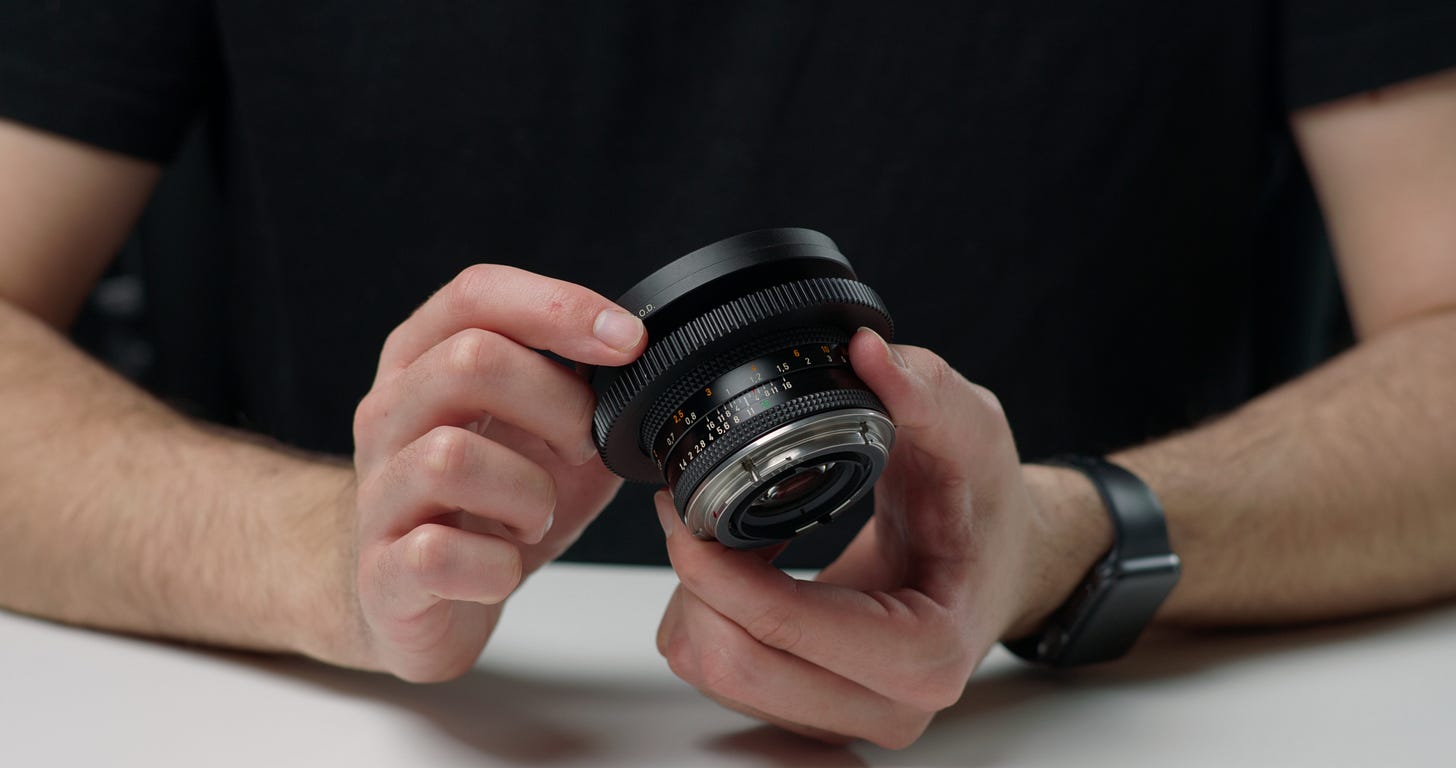
I like the edge light way more than I had expected. Combined with the key and fill, the subject item pops in the frame. The table is not distracting. I like this setup.
Here are a few more shots.
As it turns out, sandwiching the subject item (shiny black lenses and microphone gear in this case) between two large soft light sources and then accenting those soft sources with a sharp edge light works well.
Further, if I need to do some top down work, I can set up the overhead rig, which is basically a Dana Dolly rigged on two C stands, over the top of the IKEA table. If I need to do some cyclorama photos, I can do the same thing with this table and some Savage paper, but against the gear wall. That is something I have yet to try.
I don’t have much more to say here. If you’re looking at a minimal cost lighting setup, I’d grab:
1x 60 watt point source LED light (such as Aputure Amaran 60D)
1x 24” x 36” soft box compatible with your point source
1x 9’ light stand for the light
1x IKEA LINNMON table top (39 3/8” x 23 5/8”)
4x ADILS legs
I’d then position your setup near a wall to benefit from bounce light. And, if you can swing it, you can grab any small LED light for use off frame as an edge light.
This setup here takes less than twenty minutes to put together and about fifteen to put away. I timed it. That’s way less friction than three hours.
The only thing for me to do now is to get to making those videos. That’s for another time.


